

How to Carry Cargo Safely on an E-Bike: A Practical Loading Guide
One of the most useful advantages of an electric bike is its ability to carry more than a rider. Groceries, work equipment, delivery bags, picnic supplies and lightweight camping gear can often be transported without starting a car.
Electric assistance, however, does not eliminate the physical effects of additional weight.
Cargo changes how an e-bike accelerates, turns, balances and stops. A poorly positioned bag can swing into a wheel, an overloaded rack can fail, and a tall box can make the bicycle unstable even when the total weight appears to be within the advertised payload capacity.
Safe cargo carrying begins before anything is placed on the bike. You need to understand the limits of the complete bicycle, use compatible carrying equipment and secure the load so it cannot move during the ride.
This guide explains how to create a safer cargo setup for commuting, shopping, deliveries and recreational trips.
The Short Answer
To carry cargo safely on an e-bike:
-
Check the total bicycle payload and the separate limit for each rack or accessory.
-
Include the rider, battery, accessories and cargo in the calculation when required by the manufacturer.
-
Place heavier items low, close to the bike’s centerline and as near the middle of the bicycle as practical.
-
Balance panniers from left to right.
-
Secure every item with compatible bags, straps or containers.
-
Keep cargo away from the wheels, chain, brakes, lights and steering controls.
-
Confirm that the load does not conceal required reflectors or lights.
-
Perform a low-speed test before entering traffic.
-
Allow more room for turning and stopping.
-
Recheck the load during longer trips.
Never assume that the bicycle’s total payload rating is also the capacity of its rear rack. Those can be two different limits.
E-Bike Cargo Safety Checklist
| Check | What to confirm |
|---|---|
| Total payload | Rider, cargo and applicable accessories remain within the bicycle’s limit |
| Rack capacity | The rack and mounting points are approved for the intended load |
| Compatibility | Bags, baskets and seats fit the specific bicycle and rack |
| Weight position | Heavy items are low, centered and close to the bicycle |
| Side balance | Left and right panniers carry similar weight |
| Load security | Nothing can slide, swing, bounce or fall |
| Wheel clearance | Straps, clothing and bags cannot contact either wheel |
| Controls | Handlebar movement, cables and brake levers remain unobstructed |
| Visibility | Lights and reflectors remain visible |
| Test ride | The bike starts, turns and stops predictably at low speed |
1. Understand the Three Different Weight Limits
A cargo setup may involve several limits rather than one universal number.
Total bicycle payload
The total payload commonly includes the rider and everything carried on the bicycle. Depending on the manufacturer’s definition, that may include clothing, locks, bags, accessories and cargo.
Read the owner’s manual for the exact model instead of relying only on a product-page headline.
Rear-rack capacity
A rear rack can have a lower capacity than the complete bicycle. For example, a bicycle may be capable of supporting a substantial combined payload while its rear rack is approved for only a portion of that weight.
The extra capacity cannot automatically be concentrated on the rack.
Accessory capacity
A basket, pannier, cargo box, child carrier or mounting adapter may have its own lower limit. The practical limit of the assembled system is determined by its weakest approved component.
Do not increase capacity by adding stronger straps or homemade brackets. Straps can hold a bag closed, but they do not strengthen the rack, frame or mounting bolts.
2. Calculate the Complete Load Before Riding
Begin with the rider’s ready-to-ride weight, including normal clothing and anything carried in pockets or a backpack.
Then add:
-
Locks and security chains
-
Panniers and baskets
-
Cargo boxes
-
Water and food
-
Tools and spare parts
-
Work or delivery equipment
-
Camping equipment
-
Additional approved accessories
-
The cargo itself
Follow the manufacturer’s definition when deciding whether the battery or factory equipment must also be counted.
Remember that liquids are deceptively heavy. A large water container, several bottles or a full grocery bag can add significant weight quickly.
If the calculated load approaches the maximum, reduce it. Published limits are boundaries, not targets that must be reached on every trip. Road impacts, potholes and curb transitions can create dynamic forces greater than the stationary weight of the cargo.
3. Keep Heavy Items Low and Near the Center
Cargo position can matter as much as cargo weight.
A heavy object placed high above the rear wheel creates more leverage when the bicycle leans. It can make slow-speed balancing, cornering and parking more difficult.
For improved stability:
-
Put dense items at the bottom of panniers.
-
Keep the load close to the bicycle’s centerline.
-
Avoid stacking heavy items above a basket or rack.
-
Position cargo as far forward on the rack as the approved setup allows.
-
Keep light and bulky items above heavier objects.
-
Prevent the load from shifting backward during acceleration.
-
Avoid attaching heavy objects to the handlebar.
NHTSA advises cyclists to carry items in a backpack or strapped to the back of the bicycle. Items hanging from the handlebar can interfere with steering, cables and brake controls.
A backpack may be suitable for a small, light load, but a heavy backpack can affect rider comfort and balance. For larger loads, compatible bicycle-mounted panniers or containers usually distribute weight more effectively.
4. Balance Left and Right Panniers
Uneven panniers can pull the bicycle to one side, particularly during starting, slow turns and dismounting.
When using two panniers:
-
Estimate or weigh the contents of each side.
-
Place similarly heavy items opposite each other.
-
Put frequently used lightweight items at the top.
-
Confirm that both bags are fully attached.
-
Check heel clearance by rotating the pedals.
-
Make sure neither bag can swing toward the spokes or brake rotor.
Perfectly equal weight is not always possible, but a major left-to-right difference should be corrected before riding.
If using only one pannier, keep the load light and test the bicycle carefully. Do not compensate by leaning continuously in the opposite direction.
5. Use Compatible Bags, Baskets and Straps
A grocery bag placed loosely on a rack is not a secure cargo system.
Use equipment designed for bicycle transport and compatible with the specific rack. Attachment hooks, rails, bolts and locking mechanisms should engage fully.
Inspect for:
-
Cracked plastic
-
Bent hooks
-
Torn fabric
-
Frayed webbing
-
Loose rack bolts
-
Missing retaining clips
-
Damaged buckles
-
Corrosion
-
Previous impact damage
When straps are required, use enough tension to prevent movement without crushing the cargo or damaging the bicycle.
Secure loose strap ends. A dangling strap can enter the wheel, cassette, brake rotor or chain.
Elastic cords may help retain lightweight items, but they should not be trusted as the only restraint for a heavy or rigid object. Hooks can release when a load compresses or shifts.
6. Protect the Wheels, Drivetrain and Brakes
After loading the bicycle, inspect both sides from several angles.
Nothing should touch or approach:
-
Tire tread
-
Wheel spokes
-
Brake rotors
-
Brake calipers
-
Chain
-
Cassette
-
Derailleur
-
Crank arms
-
Folding hinge
-
Motor cable
-
Battery connection
-
Suspension components
Compress the suspension slightly and move the bike from side to side. Clearance that looks adequate while the bike is stationary can disappear when a bag flexes or the suspension moves.
Rotate both wheels by hand before turning on the electrical system. Stop immediately if you hear rubbing or see a strap, bag or garment moving toward a wheel.
7. Keep Lights and Reflectors Visible
Cargo must not hide the rear light, headlight, side reflectors or required identification markings.
If a bag or box covers a light, use only a compatible relocation solution approved for the bicycle or accessory. Do not improvise wiring or mount lights where they point toward the ground.
Check visibility from:
-
Directly behind the bike
-
Each rear corner
-
Both sides
-
The front
Reflective details on a pannier can improve conspicuity, but they do not replace the bicycle’s required lights and reflectors.
The rider must also remain able to look behind, signal and control the bicycle without the load obstructing normal movement.
8. Never Exceed the Intended Use of a Cargo Rack
A rear cargo rack is not automatically a passenger seat.
Do not carry an adult or child unless the complete bicycle, rack and passenger system are expressly designed and approved for that use. A cushion, footrests or backrest added to an ordinary cargo rack do not by themselves make passenger transport safe or legal.
Child carriers require particular care. Use only a carrier that is compatible with the bicycle and rack, satisfies its instructions and is legal where the bicycle will be ridden.
Verify:
-
Rider-age and passenger-age requirements
-
Helmet requirements
-
Passenger weight limits
-
Rack compatibility
-
Foot and wheel protection
-
Restraint-system instructions
-
Local e-bike passenger laws
-
Whether the manufacturer permits the installation
Never place a child in a carrier that is damaged, recalled, incorrectly mounted or incompatible with the rack.
9. Load the Bike While It Is Stable
Loading a heavy e-bike while it rests on an inadequate kickstand can cause it to tip.
Use a level surface. Keep one hand on the bicycle or ask another adult to stabilize it while the load is being attached.
Load matching panniers gradually instead of placing all the weight on one side first. When the bicycle is ready:
-
Confirm that the kickstand has not sunk or shifted.
-
Hold both brakes before moving the bike.
-
Stand beside it and gently rock it from side to side.
-
Push it forward several feet.
-
Listen for movement, rubbing or loose hardware.
-
Mount only when the bicycle feels stable.
Do not leave a loaded e-bike unattended where it could fall onto a child, vehicle or pedestrian.
10. Complete a Low-Speed Loaded Test Ride
The first test should take place in a traffic-free, level area.
Start with a lower pedal-assist setting and gentle acceleration. Sudden motor assistance can make an unfamiliar load shift or change steering response.
Test:
-
Starting from a stop
-
Riding in a straight line
-
Wide turns in both directions
-
Controlled braking
-
Looking behind
-
Hand signaling
-
Stopping and placing a foot down
-
Dismounting
-
Using the kickstand
If the front wheel feels unusually light, the rear load may be too heavy or too far back. If the bicycle pulls to one side, inspect the left-to-right balance.
Stop and adjust the load instead of trying to “get used to” unstable handling.
11. Change the Way You Ride
A loaded e-bike normally requires more space and more deliberate control.
When carrying cargo:
-
Reduce speed.
-
Accelerate smoothly.
-
Brake earlier.
-
Avoid abrupt steering.
-
Take corners more slowly.
-
Increase following distance.
-
Avoid potholes, curbs and loose surfaces when possible.
-
Choose lower-traffic routes.
-
Walk the bike through conditions beyond your confidence.
-
Use extra caution on slopes.
Do not assume powerful brakes or a large motor will cancel the effects of added mass. The tires still have a limited amount of traction, and the frame, rack and rider must control the complete moving load.
High motor assistance can also consume battery energy more quickly when the bike is heavily loaded, climbing or repeatedly accelerating.
12. Recheck the Load During the Trip
Cargo settles as the bicycle moves. Food packages compress, clothing shifts and straps can loosen.
Stop after the first few minutes and inspect the complete setup. On a longer trip, check it again after rough roads or substantial elevation changes.
Look for:
-
Loosened straps
-
Moving bags
-
Rack movement
-
Contact marks
-
Shifted liquids
-
Warm or rubbing components
-
Hidden lights
-
Reduced tire pressure
-
Unusual brake behavior
-
Changes in steering
If the bike develops wobbling, rubbing, clicking or unstable steering, stop in a safe place and investigate. Do not continue at normal speed while hoping the problem will disappear.
Common Cargo-Carrying Mistakes
Avoid these frequent errors:
-
Confusing total payload with rack capacity
-
Ignoring the weight of bags and accessories
-
Hanging shopping bags from the handlebar
-
Placing the heaviest item at the top
-
Loading one pannier much more heavily than the other
-
Leaving strap ends near a wheel
-
Blocking the rear light
-
Using a damaged basket or rack
-
Carrying a passenger on an ordinary cargo rack
-
Starting with maximum pedal assistance
-
Riding at normal speed without a test
-
Failing to recheck the load after departure
Frequently Asked Questions
Does e-bike payload include the rider?
It commonly does, but definitions vary. Check the owner’s manual for the specific bicycle. Include all items required by the manufacturer’s calculation rather than relying on a general industry assumption.
Can I put the full payload capacity on the rear rack?
No. The bicycle and rear rack may have separate limits. Follow the lower applicable limit and distribute cargo only as approved.
Is it safe to hang grocery bags from the handlebar?
It is not recommended. Bags can interfere with steering, brake levers, cables or the front wheel. Use compatible rear panniers, a basket or another approved cargo system.
Can I carry a passenger on an e-bike rack?
Only if the complete bicycle and passenger system are designed and approved for that purpose and the arrangement complies with local law. An ordinary cargo rack should not be treated as a passenger seat.
Should I change tire pressure for a heavy load?
Follow the tire, rim and bicycle manufacturer’s specifications. A heavier load may require adjustment within the approved pressure range, but never exceed the maximum pressure shown on the tire or use an unsupported value.
Why does my loaded e-bike feel unstable at low speed?
The cargo may be too high, too far behind the rear axle, uneven from side to side or able to move inside its container. Stop, reduce the load and reposition it before continuing.
Final Cargo Check
Before entering the road or trail, ask:
-
Is the total payload within the bicycle’s limit?
-
Is each rack and accessory within its separate limit?
-
Are heavy items positioned low and close to the center?
-
Are the left and right sides reasonably balanced?
-
Can any bag, strap or garment reach a wheel?
-
Are the brakes, chain and derailleur unobstructed?
-
Are all lights and reflectors visible?
-
Can the handlebar turn fully?
-
Did the bicycle pass a low-speed test?
-
Have I allowed more space for braking and turning?
Conclusion
An e-bike can be an excellent tool for grocery trips, commuting, deliveries and outdoor recreation, but safe cargo carrying depends on more than motor power or a large advertised payload.
Begin with the limits provided for the specific bicycle, rack and accessories. Calculate the complete load, keep heavy items low, balance the two sides and secure everything so it cannot enter a wheel or interfere with the controls.
Perform a low-speed test, ride more conservatively and inspect the load again after it has had time to settle.
A carefully loaded e-bike should feel predictable—not improvised. If the bicycle feels unstable, reduce or reposition the cargo before continuing.
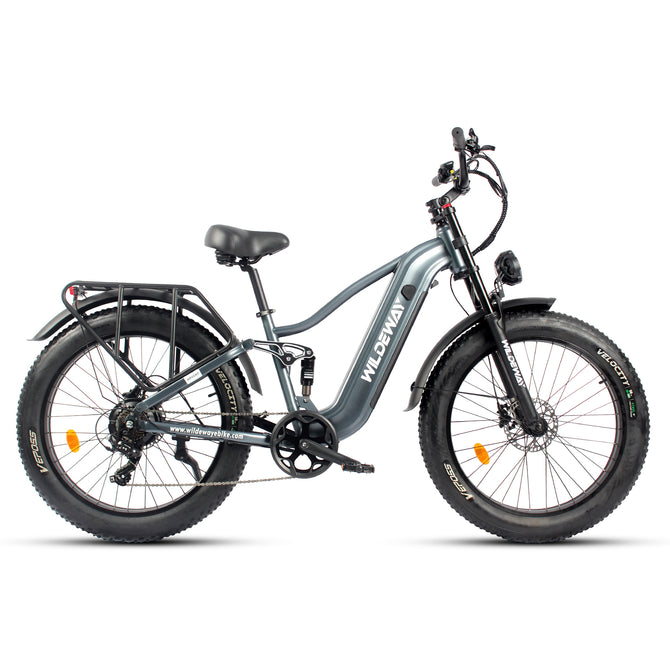
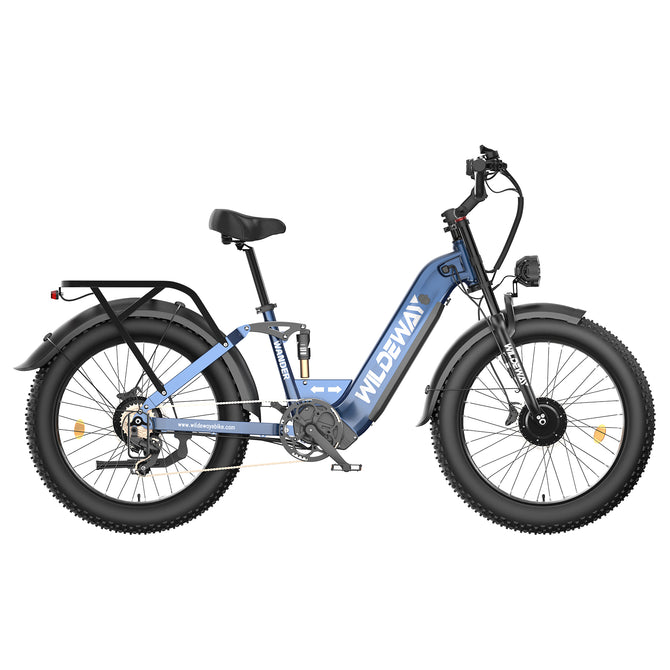
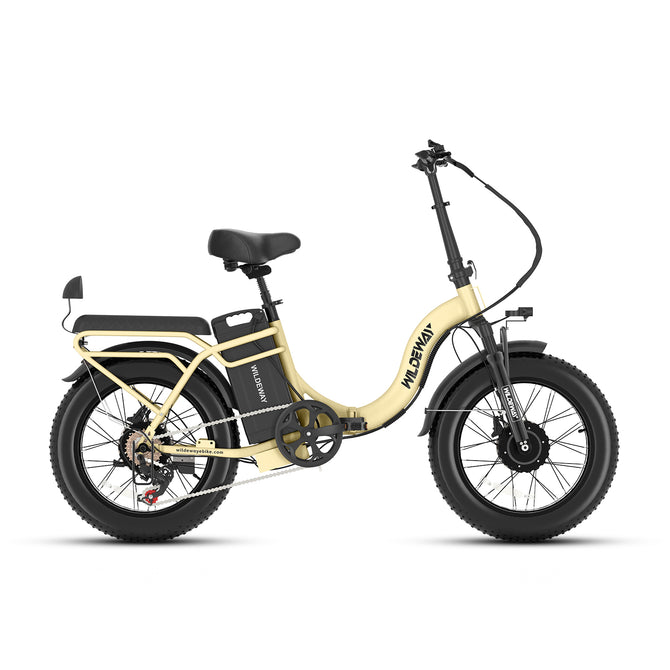
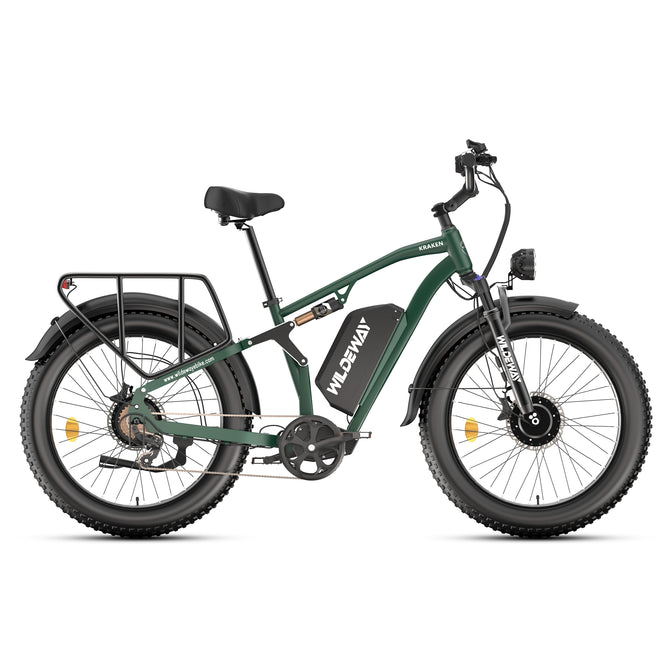
Explore the current collection of WILDEWAY folding, commuter and all-terrain e-bikes, and choose a model and cargo setup that match your actual carrying requirements.


