

How to Plan an E-Bike Fishing Trip: Rod Transport, Shore Access, and a Cleaner Return
A fishing trip starts before the first cast. You need a way to move your rod, tackle, water, and layers without turning the ride into a balancing act. You also need somewhere appropriate to leave the bike when the route ends and the shoreline begins.
An e-bike can be useful for that connection where its exact configuration is permitted. But a successful outing depends on more than reaching the water.
This guide focuses on fishing-specific preparation: checking access, packing awkward equipment, choosing a parking point, separating wet gear, and preventing the transfer of unwanted organisms between waters. The WILDEWAY Advent provides a practical product example without assuming that any particular road, park, or trail allows it.
1. Check Fishing Permission and Riding Permission Separately
Permission to fish does not automatically establish permission to ride an e-bike to the bank.
Before selecting a destination, answer two separate questions:
- Can I fish this water, for these species, using this equipment, on this date?
- Can I take my exact bicycle configuration along every section of the approach?
For U.S. national parks, the National Park Service explains that fishing requirements can involve federal, state, and park-specific regulations. Check the individual park rather than assuming one license or rule covers every location.nps.gov
Canadian requirements also depend on the water and responsible authority. Fisheries and Oceans Canada advises anglers in British Columbia to check current limits, openings, and closures before fishing; these can change daily.Fisheries and Oceans Canada
Confirm riding access with the relevant land manager. BLM states that its e-bike rule does not automatically open nonmotorized trails. Local authorization matters.Bureau of Land Management
A fishing license, an open gate, or bicycle tracks on the ground should never be your only access check.
2. Pick a Parking Point Before Picking a Casting Spot
Map the trip as three stages: the permitted riding route, a stable place to secure the bicycle, and the final walk to the water.
This approach avoids arriving with a loaded bike at a narrow bank where there is nowhere suitable to stop.
Choose parking that:
- Does not obstruct a trail, gate, ramp, or emergency access.
- Provides firm, reasonably level ground.
- Keeps the bicycle away from unstable edges and moving water.
- Allows you to unload without stepping into another user’s path.
- Offers an authorized place to lock the bike.
The National Park Service warns that riverbanks can be unstable and waterside rocks slippery. It also recommends a properly fitting life jacket when fishing, swimming, or wading. Treat the final approach as its own activity.nps.gov
Leave the bicycle at a suitable location and walk with the fishing equipment when necessary. Do not carry a heavy e-bike down an embankment simply to keep it beside your rod.
3. Build a Compact Fishing Loadout
For a first outing, start with one rod setup and a small selection of tackle suited to the destination.
Separate your equipment into three groups:
| Group | Examples | Packing Objective |
|---|---|---|
| Long or awkward items | Rod sections, landing net | Prevent projection, movement, and wheel interference |
| Dense items | Tackle, tools, drinking water | Keep the load secure and balanced |
| Wet or dirty items | Used net, waders where permitted, wet footwear | Isolate them for the return trip |
Put hooks and lures inside a closed tackle container before riding. Secure loose fishing line and netting. Neither should be able to unwind toward the wheel, chain, pedals, or brake components.
Keep food and drinking water separate from bait, chemicals, and wet equipment. If you use bait, check that it is permitted and transport it in an appropriate closed container.
4. Transport Rods Without Losing Control of the Bike
A rod that feels manageable while standing still can become awkward at a gateway, beside another rider, or beneath low branches.
Use a Protective Case When Practical
A compatible multi-piece or travel rod in a closed case is one option to consider. Check the packed length against the actual carrying space.
Do not allow the case to contact the wheel or interfere with steering, pedaling, braking, mounting, or dismounting. Secure it using suitable mounting points and restraints.
Confirm Holder Compatibility
If using a bicycle-mounted rod holder, confirm compatibility with the bike, rack, attachment hardware, and rod. A holder sold for another brand is not automatically suitable for an Advent.
Do not drill the frame, clamp onto an electrical component, or use the brake hose as a support.
Never ride while holding a fishing rod in one hand. If you cannot transport it securely without obstructing controls or other users, choose a shorter packed setup or another way to reach the destination.
5. Use the Advent’s Features as a Starting Point
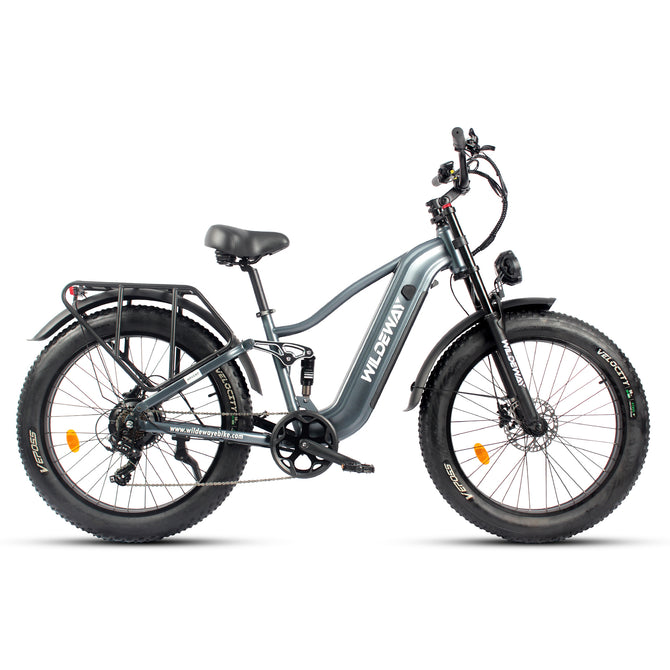
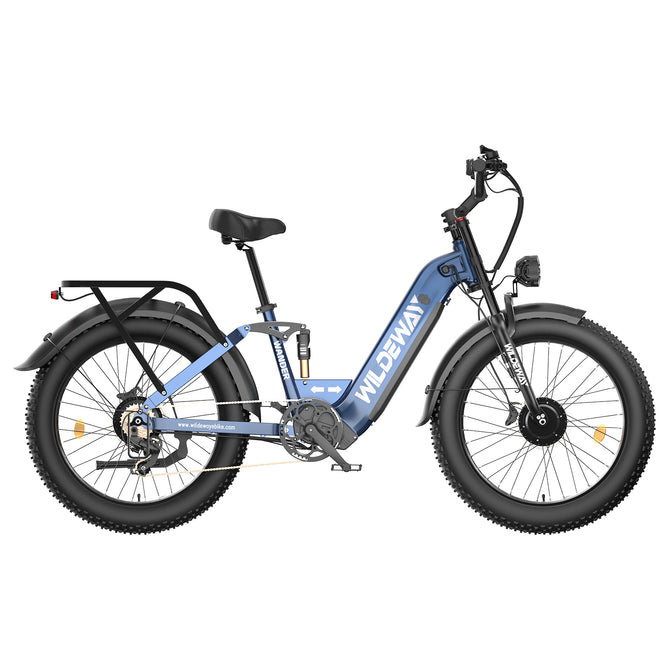
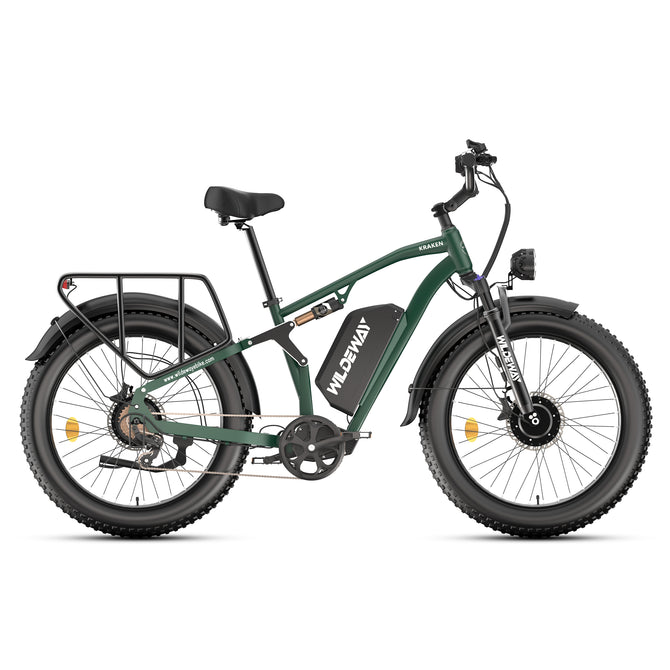
The current WILDEWAY Advent product specifications list 26 × 4.0-inch tires, front and rear suspension, hydraulic disc brakes, and a seven-speed drivetrain. Its product page also presents fishing as an intended outdoor use scenario.Wildeway
Those features make it relevant to compare for outdoor equipment transport, subject to route permissions and actual accessory compatibility.
They do not establish that the bike can cross every surface or carry every fishing arrangement.
Before fitting bags or holders:
- Confirm the selected version’s limits and approved mounting points.
- Keep accessories clear of the suspension’s movement.
- Check clearance around tires, brakes, cables, and lights.
- Account for rider, equipment, containers, and any retained catch.
- Ask WILDEWAY support about uncertain accessory connections.
A product photograph showing fishing equipment does not replace installation instructions or establish a towing rating. Avoid adding a trailer unless compatibility and applicable limits are confirmed.
6. Plan for Wet Equipment Before You Leave
The return load may be very different from the outbound load.
A landing net may be wet. Waders or shoes may carry mud. A rain layer may need separate packing. A cooler, if used, may contain different contents and weight.
Bring a dedicated container or bag to separate wet equipment from dry clothing, food, and electronics. Secure the container for the return ride and do not allow water to drain onto electrical connections.
Keep the bicycle out of the lake or stream. Do not use a shallow crossing to rinse the tires or clean fishing equipment. If conditions make the route unsuitable, turn around or choose another authorized approach.
7. Make the Return Ride Part of the Plan
A productive fishing session is not a reason to neglect the trip home.
Set a departure time that accounts for packing, the walk back to the bicycle, daylight, and changing weather. Reserve sufficient battery for the actual return route rather than treating a maximum advertised range as a trip guarantee.
If you intend to retain fish, confirm the relevant rules on identification, recording, packaging, and transport. DFO’s British Columbia guidance explains that packaging requirements vary by species.Fisheries and Oceans Canada
Carry only what you can transport legally and securely. Do not hang a catch bag from the handlebar or add an unsecured container after the load has already been arranged.
For a remote outing, leave your destination and expected return time with a trusted person. Have a realistic alternative if you cannot ride back.
8. Clean Fishing Gear Before Moving Between Waters
Water-related equipment can carry material from one location to another. A fishing trip by bicycle still requires attention to aquatic biosecurity.
Parks Canada advises cleaning, draining, and drying equipment before entering or moving between water bodies. Local rules may also specify drying periods, inspections, decontamination, permits, or restrictions on particular equipment.Jasper National Park
Check the destination’s current instructions. Do not invent one universal drying time for all U.S. and Canadian waters.
After the outing:
- Remove mud, plants, and visible debris as directed.
- Drain equipment and containers where authorized.
- Follow the required drying or decontamination process.
- Clean the bicycle according to its manual.
- Keep fishing-equipment treatments away from bike components unless approved.
Separate wet storage helps organize the journey home. It does not replace proper cleaning before the next fishing location.
Frequently Asked Questions
Can I Ride an E-Bike to Any Public Fishing Spot?
No. Public fishing access and e-bike access are separate questions. Confirm the exact route, bicycle configuration, current closures, and any landowner or land-manager restrictions.
Is the WILDEWAY Advent Suitable for a Fishing Outing?
It is worth evaluating for an authorized outdoor route because its current product page includes fishing among its use scenarios. Confirm your route, carrying arrangement, selected configuration, and accessory compatibility before committing.
Do I Need a Special Fishing-Rod Holder?
Not necessarily. A securely carried protective case may suit a compact rod. If you choose a holder, verify compatibility and clearance instead of assuming that any bicycle accessory will fit.
Can I Ride Through Shallow Water to Reach the Bank?
Plan a dry, permitted approach. Do not assume that water-resistance marketing authorizes submersion or stream crossings. Follow the bicycle’s manual and avoid damaging banks or aquatic habitat.
Can I Bring Fish Home by E-Bike?
Only when retention and transport are permitted and you have a suitable, secured carrying arrangement. Check local recording, packaging, identification, and handling requirements before the outing.
Should I Clean Equipment After Visiting Only One Lake?
Yes. Follow the location’s cleaning instructions before the gear enters another water body. The absence of visible mud does not establish that equipment is ready for unrestricted transfer.
Conclusion
An enjoyable e-bike fishing trip connects riding and angling without creating problems at the shoreline.
Confirm access, choose a stable parking point, secure rods and tackle, separate wet equipment, and leave enough time and battery for the return. Finish by following the destination’s equipment-cleaning requirements.
Explore the WILDEWAY Advent if you are considering an outdoor-oriented e-bike for fishing trips on routes where its configuration is authorized. Start with the current product specifications and a carrying setup that matches your actual gear.
A well-planned outing lets you focus on the water once the bike is parked—and makes packing up just as straightforward as heading out.


