

What to Carry in an E-Bike Emergency Kit: 15 Essentials for Every Ride
A short e-bike ride can become a long walk when a tire loses pressure, a bolt works loose, the weather changes, or a phone battery dies.
Electric bikes deserve more preparation than ordinary bicycles because they are generally heavier, incorporate electrical components, and may use tires, axle hardware, connectors, and fasteners that require model-specific tools.
The goal of an e-bike emergency kit is not to turn every rider into a professional mechanic. It is to help you manage small, predictable problems and make a safe plan when a repair is beyond your ability.
Parks Canada recommends carrying spare tubes, a pump, tools, a first aid kit, a phone, food, water, and weather protection on longer bicycle trips. It also warns that cellular service may be unreliable on remote routes. Jasper National Park
The best kit is compact, compatible with your exact bike, and adjusted to the distance and environment of each ride.
The Essential E-Bike Emergency Kit
| Category | Essential items | Main purpose |
|---|---|---|
| Tire repair | Correct tube, patch kit, tire levers | Manage a repairable puncture |
| Inflation | Compatible pump and pressure gauge | Restore safe tire pressure |
| Mechanical tools | Model-compatible multi-tool | Address minor loose hardware |
| Communication | Phone, emergency contacts, power bank | Request help or share location |
| Personal safety | First aid kit, water, weather layer | Manage minor injuries and exposure |
| Visibility | Backup light and reflective item | Remain visible after delays |
| Recovery | Payment card, identification, transport plan | Arrange help when riding cannot continue |
1. A Spare Tube That Actually Fits
A spare tube is useful only when it matches the wheel, tire width, and valve type on your bicycle.
Before buying one, check the tire sidewall and owner’s manual for:
- Wheel diameter
- Tire-width range
- Valve type
- Required valve length
- Any model-specific compatibility requirements
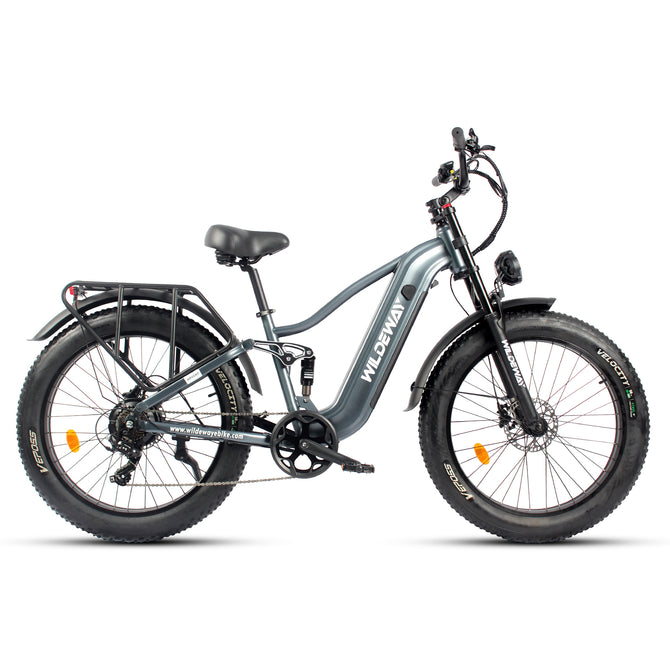
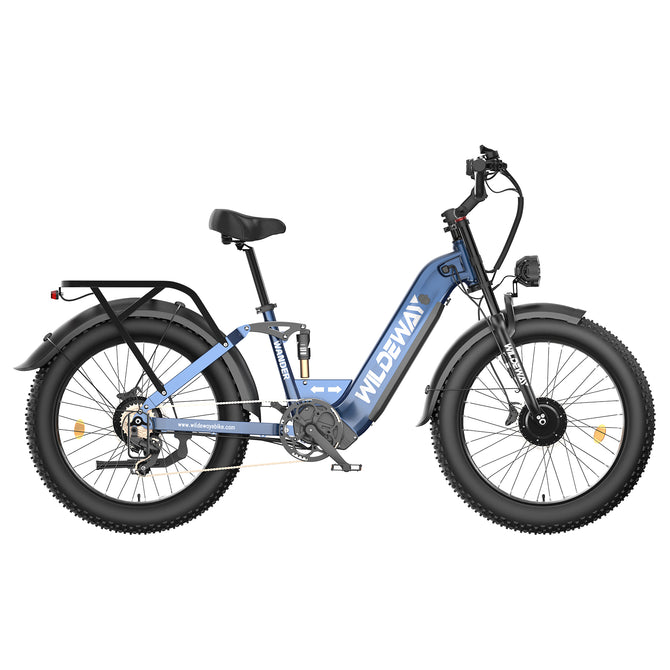
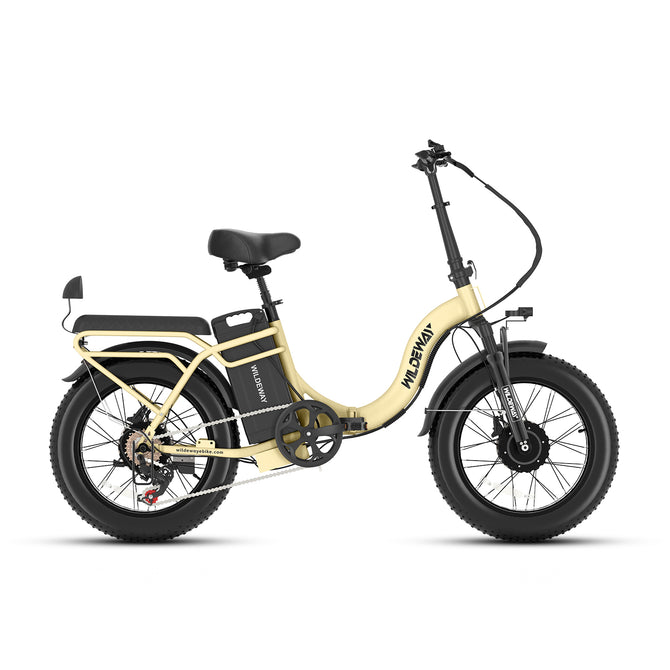
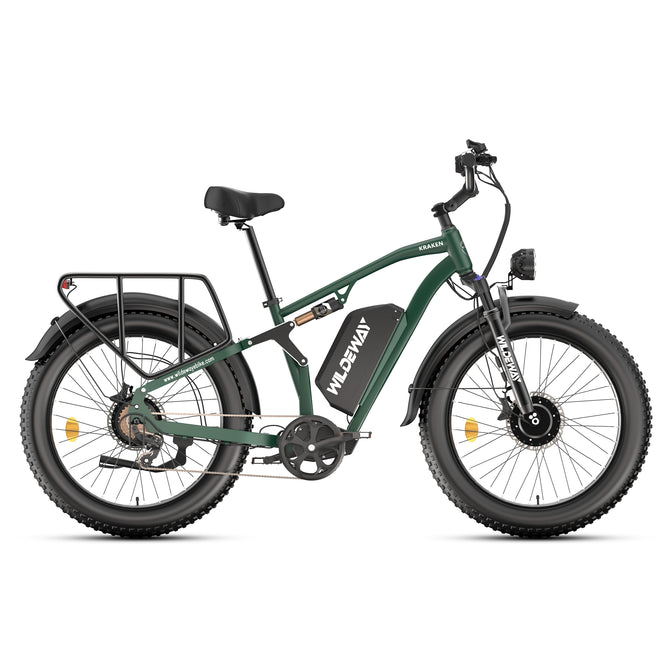
The FW11 3.0 Pro and FW11S 3.0 Pro currently use 20 × 3.0-inch tires, while the SummitX uses 20 × 4.0-inch tires. The current Wander Ultra and KRAKEN specifications list 26 × 4.0-inch tires. These tubes are not interchangeable simply because all the bikes use wide tires. Wildeway
Label the tube with the model it fits if your household owns more than one e-bike.
2. A Patch Kit
A patch kit can serve as a backup when you have already used your spare tube or encounter more than one small puncture.
Choose a kit suitable for your tube material and learn how to use it at home. A roadside repair is easier when you have already practiced identifying the puncture, preparing the surface, applying the patch, and checking the tire for the object that caused the problem.
A patch should not be used to conceal a damaged tire casing, large cut, bulge, torn valve, or other structural problem.
3. Tire Levers
Carry sturdy bicycle tire levers suitable for your tire and rim.
Avoid improvising with screwdrivers or sharp metal objects. They may damage the rim, tube, tire bead, or your hands.
Wide e-bike tires can require more effort to remove than conventional road-bike tires. Practice on the exact wheel before depending on the levers during a trip.
4. A Compatible Pump
A compact pump should:
- Fit your valve type
- Reach the required pressure
- Be practical for your tire volume
- Attach securely to the bike or fit inside your bag
A very small pump may inflate a conventional bicycle tube but require extensive effort for a 3.0- or 4.0-inch tire. Test your pump before leaving home.
CO₂ inflators can be fast, but they are finite-use supplies and should not replace the knowledge or equipment needed to complete the repair.
5. An Accurate Tire-Pressure Gauge
Do not rely only on squeezing a wide tire by hand.
Use a gauge and follow the approved range shown on the tire, rim, or owner’s manual. Rider weight, cargo, surface, temperature, and tire construction can influence the appropriate setting.
Do not copy a universal fat-tire PSI recommendation from another bicycle. Never exceed the limits specified for your components.
6. A Model-Compatible Multi-Tool
A useful bicycle multi-tool may include:
- Hex keys
- Screwdrivers
- Torx bits, when required
- A chain tool, if you know how to use it
Compare the tool with the fasteners on your actual bike. A compact tool with many functions still provides no value if it does not fit the axle, stem, rack, folding latch, or accessory hardware you may need to address.
Use it only for minor adjustments you understand. A cracked component, loose wheel, damaged folding mechanism, brake-fluid leak, or unstable handlebar requires proper service—not repeated roadside tightening.
7. Model-Specific Axle Tools
Hub-motor wheels may use axle nuts or other hardware that a typical bicycle multi-tool cannot remove.
Check the owner’s manual or ask WILDEWAY support which tool is required for your exact production version. Do not assume that the front and rear wheels use identical hardware.
A rear-wheel flat involving a hub motor can also require careful management of motor wiring and anti-rotation hardware. If you have not been trained to remove and reinstall that wheel correctly, arrange transportation instead of experimenting beside the road.
8. A Small First Aid Kit
An e-bike emergency kit should include basic first aid supplies appropriate for the ride and the rider.
The American Red Cross recommends tailoring first aid supplies to the activity and periodically checking expiration dates and used items. A compact kit may include dressings, gauze, gloves, antiseptic wipes, tape, and emergency instructions. Red Cross
First aid equipment does not replace training or emergency medical care. Call 911 in the United States or Canada when an injury or hazard requires urgent assistance.
9. Phone and Emergency Contact Information
Carry a charged phone in a secure, weather-protected location—not loosely in your hand while riding.
Save:
- Your emergency contact
- WILDEWAY support information
- Local emergency and non-emergency numbers
- Roadside assistance details, if your plan covers bicycles
- Your bike’s model and serial number
- Important medical information
NHTSA recommends carrying items in a backpack or securing them to the rear of the bicycle so both hands remain available for control. It also advises riders to plan lower-traffic, lower-speed routes when possible. NHTSA
10. A Small Power Bank and Charging Cable
Navigation, cold weather, emergency calls, and extended stops can drain a phone faster than expected.
A compact power bank can preserve communication capability. Store it in a padded, dry compartment and inspect it for swelling, impact damage, overheating, or other abnormal conditions.
Do not use the power bank as an improvised e-bike battery or connect unapproved equipment to the bicycle’s electrical system.
11. Identification, Payment, and Medical Details
Carry identification and a payment method in case you need:
- Public transportation
- A taxi or rideshare
- Food or water
- A bicycle shop
- Replacement supplies
- Medical assistance
Keep sensitive documents protected from rain and separate from loose tools.
12. Water and a Compact Snack
Even a short ride can take much longer after a breakdown.
Carry enough water for the conditions and consider a compact snack on longer or remote rides. Parks Canada advises cyclists to bring extra food, water, and clothing because unexpected delays and changing weather can make self-recovery more difficult. Waterton Lakes National Park
13. Weather Protection
Your kit should reflect the season and route.
Possible items include:
- Lightweight rain shell
- Warm layer
- Gloves
- Sun protection
- Emergency blanket for remote or cold-weather rides
Weather protection is especially important when a mechanical problem forces you to remain stationary. Choose clothing appropriate for the actual forecast rather than packing the same kit year-round.
14. Backup Visibility Equipment
A delay can turn a daylight ride into a low-light return trip.
Carry a compact backup light or reflective band and periodically confirm that it works. Do not depend on a phone flashlight as your only visibility solution.
If the bike’s primary lighting or electrical system fails, choose a safe place away from traffic and decide whether continuing is appropriate.
15. A Recovery Plan
The most important part of an emergency kit may be knowing when not to repair the bike.
Before leaving, consider:
- Who can collect you and the bike?
- Will the bike fit inside the vehicle?
- Does local transit accept e-bikes?
- Is cellular service available?
- Can you share your live location?
- Where is the nearest bike shop?
- Can a rideshare vehicle safely transport the bike?
Tell someone your route and expected return time when riding in a remote area.
Match the Kit to Your WILDEWAY Model
| Model | Typical use | Kit consideration |
|---|---|---|
| FW11 3.0 Pro | Folding utility riding and commuting | Carry a tube compatible with 20 × 3.0-inch tires and verify folding-hardware tools |
| FW11S 3.0 Pro | Step-through commuting and frequent stops | Use the same 20 × 3.0-inch compatibility check; secure the kit so it does not obstruct mounting |
| SummitX | Folding all-terrain and cargo use | Confirm a 20 × 4.0-inch tube and tools compatible with its dual-motor wheel hardware |
| Wander Ultra | Heavy-duty outdoor exploration | Prepare for 26 × 4.0-inch tires, remote-route communication and the bike’s transport requirements |
| KRAKEN | All-terrain riding, hauling and outdoor access | Carry compatible 26 × 4.0-inch supplies and establish a realistic recovery plan for a heavy e-bike |
Product configurations may change between production batches. Confirm tube, valve, axle-tool, fastener, and replacement-part compatibility against the specific bicycle you own before purchasing a kit.
What Not to Repair Beside the Road
Stop riding and arrange professional assistance when you find:
- Battery swelling, cracking, leaking, smoke, odor, or unusual heat
- Damaged battery terminals or high-current wiring
- A cracked frame, fork, handlebar, rim, or folding mechanism
- A loose wheel that cannot be correctly secured
- A tire with exposed casing, a major sidewall cut, or a bulge
- Hydraulic fluid leakage
- Weak or inconsistent braking
- Motor behavior that is unexpected or uncontrollable
- Damage following a collision or major impact
CPSC advises against using modified, reworked, or unapproved battery packs. Health Canada states that damaged lithium-ion batteries should not be used and that riders should never modify or tamper with them. CPSC.gov
Do not open an e-bike battery, bypass a connector, splice wiring, or attempt to repair damaged cells on the roadside.
Frequently Asked Questions
What is the most important item in an e-bike emergency kit?
There is no single universal item, but a charged phone and a working recovery plan are essential. Tools cannot solve every electrical, structural, or wheel-related failure.
Should I carry a spare tube or only a patch kit?
Carrying both provides more flexibility. The tube must match your exact tire size and valve, while the patch kit must be compatible with the tube material.
Can I repair a rear hub-motor flat myself?
Only if you understand the correct removal, wiring, axle-hardware, torque, and reinstallation procedures for that model. Otherwise, use your recovery plan and arrange qualified service.
Should I carry a spare e-bike battery?
Not as a default emergency-kit item. A battery is heavy and requires model-approved transport and protection. Health Canada advises carrying batteries in a protective non-metal case and protecting them from temperature extremes and moisture. Canada.ca
Can I use any multi-tool?
No. Compare the bits and wrench sizes with your bicycle. A generic tool may not fit the axle, folding hardware, rack, or accessories.
How often should I inspect the kit?
Check it before long rides and periodically during the season. Replace used or expired first aid supplies, test lights and power banks, inspect patches and adhesives, and confirm that the spare tube still matches the bicycle.
Where should the kit be carried?
Use a securely mounted rear bag, pannier, frame bag, or backpack. Keep tools contained so they cannot enter the wheel, chain, controls, or folding mechanism.
Conclusion
A useful e-bike emergency kit is not the largest tool bag you can carry. It is a compact system built around your bike, your route, and your mechanical ability.
Begin with the correct tube, patch kit, tire levers, pump, pressure gauge, and compatible tools. Add first aid supplies, communication equipment, water, visibility gear, weather protection, identification, and a practical way to transport the bike when a roadside repair is unsafe.
For everyday commuting and compact storage, explore the folding FW11 3.0 Pro and step-through FW11S 3.0 Pro. For rides that combine utility with more demanding terrain, compare the SummitX, Wander Ultra, and KRAKEN—and tailor the emergency kit to the tire size, hardware, ride distance, and environment of the exact model you select.
Explore WILDEWAY electric bikes and prepare every ride for both the destination and the unexpected.


