

How to Choose an E-Bike for Hills and Steep Neighborhoods
A flat neighborhood can make almost any correctly maintained e-bike feel capable. Hills reveal much more about a bicycle.
On an incline, the rider feels the effect of weight, gearing, tire pressure, motor response, battery condition, cargo and body position. On the descent, braking, tire grip, visibility and confidence become just as important as climbing performance.
That is why choosing an e-bike for hills should involve more than comparing one motor number or selecting the largest battery available.
Whether you live in San Francisco, Seattle, Vancouver, Denver, Toronto, a suburban community with long grades or a campground surrounded by rolling terrain, a useful hill bike should feel controlled from the bottom of the climb to the end of the descent.
The Short Answer
For hilly riding, choose an e-bike with predictable assistance, usable low gears, effective brakes, tires suited to the surface and a riding position that keeps you balanced and comfortable.
Think about the complete route—not only the steepest section. Rider weight, cargo, wind, temperature, tire pressure and repeated starts all affect performance. A bike that climbs well but brakes poorly or feels unstable downhill is not the right choice for a hilly commute.
What Makes a Hill Different?
A hill changes several demands at the same time.
Compared with flat riding, a climb may require:
- More sustained motor assistance
- More frequent gear changes
- More rider effort
- More traction
- More time at lower speed
- Greater battery consumption
- Better balance at slow speed
- More careful route planning
A descent creates another set of demands:
- Controlled braking
- Stable steering
- Predictable tire grip
- Clear visibility
- Enough space to stop
- Awareness of pedestrians, vehicles and surface changes
The safest buying decision considers both directions.
NHTSA advises bicycle riders to plan routes, stay alert, obey traffic controls and anticipate hazards such as potholes, grates, train tracks and road debris. Those principles are particularly important on hilly routes, where speed and stopping distance can change quickly. NHTSA
The Main Factors to Compare
| Factor | Why it matters on hills |
|---|---|
| Motor response | Helps maintain controlled assistance while climbing |
| Gearing | Lets the rider keep a manageable cadence |
| Brakes | Controls speed on descents and frequent stops |
| Tires | Influence traction, comfort and stability |
| Riding position | Affects balance and rider fatigue |
| Weight | Influences climbing, carrying and stopping |
| Battery condition | Hill use can increase energy demand |
| Cargo setup | Changes balance and braking |
| Route design | Determines how demanding the trip really is |
No single feature works independently. A powerful system still needs appropriate tires, brakes, gearing and rider technique.
1. Evaluate Motor Assistance as a System
Many buyers begin with a wattage number. That number may be useful, but it is not a complete description of hill performance.
Ask:
- Does assistance begin smoothly?
- Does the bike respond predictably at low speed?
- Can you select a lower assistance level for narrow paths or crowded areas?
- Does the motor stop assisting when you stop pedaling or apply the brakes, according to the bike’s design?
- Is the control system easy to use while climbing?
- Does the bike remain stable when assistance changes?
A smooth and controllable response is usually more useful than an abrupt surge that makes a steep start difficult to manage.
When comparing models, read the owner’s manual and test the bike on a moderate incline if possible. A short showroom demonstration on flat pavement cannot reveal how the bike behaves when starting uphill with a rider and cargo.
For models such as the FW11 3.0 Pro and FW11S 3.0 Pro, the practical question is not simply whether the bike has electric assistance. It is whether the riding position, gearing, brake controls and assistance settings match the way you expect to use the bike.
2. Look for Useful Low Gears
Gearing affects how much effort the rider must provide during a climb.
A lower gear allows the rider to pedal with less force per revolution, which can make a longer hill more manageable. The rider may pedal faster, but with less strain on the legs.
Before buying, check:
- How many usable gears are available?
- Can you shift before the hill becomes steep?
- Does the drivetrain shift smoothly under moderate load?
- Can you maintain a comfortable cadence?
- Is the control layout easy to operate while wearing gloves?
Shift before the steepest section when possible. Waiting until the bike is already struggling can make the change less smooth and may increase rider fatigue.
A rider carrying groceries, work equipment or camping gear may need a lower gear than the same rider on an unloaded bike.
3. Treat Brakes as a Hill-Climbing Feature
It is easy to focus on going uphill and forget about coming back down.
On a hilly route, brakes need to work consistently through:
- Long descents
- Repeated stops
- Wet pavement
- Heavy cargo
- Shared paths
- Intersections at the bottom of a hill
CPSC micromobility guidance emphasizes maintaining control, slowing for hazards and keeping both hands on the handlebars. U.S. Consumer Product Safety Commission
Before choosing a bike for hills, look at:
- Front and rear brake operation
- Lever reach and comfort
- Brake modulation
- Rotor and pad maintenance access
- Whether the bike feels stable when slowing
- Whether cargo remains controlled during braking
Do not judge brakes only by whether they can stop the wheel while the bike is stationary. A real test should include controlled braking at low speed and, when safe and legal, a moderate descent.
Never assume that a higher motor output makes a bike safe on hills. Climbing and descending are different performance tasks.
4. Choose Tires for the Surface You Actually Ride
Hilly pavement, gravel roads, wet leaves, loose soil and rocky trails all require different compromises.
A tire should provide a useful balance of:
- Traction
- Stability
- Rolling resistance
- Puncture protection
- Comfort
- Compatibility with the frame and fenders
Wide tires can offer a stable contact patch and additional comfort, but they are not automatically better on every paved route. Knobby tread may help on loose surfaces but can feel different on smooth pavement.
Follow the tire and rim manufacturer’s pressure range. Avoid reducing pressure beyond the approved range in an attempt to create more grip. An underinflated tire can feel unstable, damage the rim or increase the chance of a pinch flat.
Before committing to a regular hill route, test the bike on the same type of surface you expect to ride.
5. Consider Riding Position and Balance
A comfortable riding position can make a long climb feel more manageable.
Look for:
- A handlebar height that allows controlled steering
- A saddle position that supports efficient pedaling
- Easy access to brake levers and controls
- A frame size that lets you mount and stop confidently
- Enough space to shift your body position
- A stable feel when standing or sitting, as appropriate
On a steep section, the rider should remain balanced and keep the front wheel tracking predictably.
Avoid pulling aggressively on the handlebar. Keep both hands on the bars and look ahead rather than directly at the front tire.
For frequent stop-and-go riding, some riders may prefer a step-through design because it can make mounting and dismounting more convenient. Others may prefer a step-over frame for the riding position and structure they are accustomed to.
The best frame is the one that allows you to start, stop and control the bike confidently on the route you actually ride.
6. Understand the Effect of Rider Weight and Cargo
A hill does not care whether additional weight comes from the rider, groceries, tools, a child seat or camping equipment. The bicycle must move the complete system uphill and stop it on the way down.
When planning a hilly ride, consider:
- Rider weight
- Clothing and protective equipment
- Battery weight
- Cargo bags
- Water
- Locks
- Tools
- Weather gear
Keep cargo low and secure. Avoid hanging heavy items from the handlebar because they can change steering and balance.
WILDEWAY’s FW11 3.0 Pro and FW11S 3.0 Pro product pages publish specific rack and overall load information. Use the current product page and owner’s manual for the exact model rather than relying on a general e-bike rule.
If you plan to carry regular cargo on steep roads, test the loaded bike—not only the unloaded bike.
7. Plan Battery Use for Repeated Climbs
Long hills, repeated starts and higher assistance can increase energy use. Cold temperatures, wind, tire pressure, rider weight and cargo can also affect battery consumption.
Do not assume that a single advertised range number represents every hilly trip.
Instead, track your own route:
- Record the battery level before leaving.
- Ride the route using the assistance level you normally use.
- Note the temperature and cargo.
- Record the battery level after the trip.
- Repeat on a second day when practical.
- Keep a reserve for weather, detours and unexpected stops.
For a hilly commute, a slightly shorter but flatter route may be more practical than the most direct route. Route planning is part of range management.
The best hill bike is not necessarily the one with the largest battery. It is the one that provides enough usable energy for your real route without forcing you to ride beyond your comfort or charging plan.
8. Compare the Route, Not Only the Hill
A route with one steep hill may be easier than a route with many smaller climbs.
Review:
- Total elevation gain
- Length of the steepest section
- Surface quality
- Traffic speed
- Number of intersections
- Availability of safe stopping areas
- Weather exposure
- Bike-lane or trail access
- Alternative routes
- Return-trip demands
A mapping app can help you identify elevation changes, but always treat its data as an estimate. Road construction, private roads, stairs, gates and surface conditions may make the practical route different.
NHTSA recommends choosing routes with less traffic and slower speeds when possible. A route that is slightly longer but calmer may be a better e-bike route than a direct high-speed road. NHTSA
9. Match the WILDEWAY Model to the Use Case
The right WILDEWAY model depends on where the hills are and what the rest of the ride looks like.
FW11 3.0 Pro
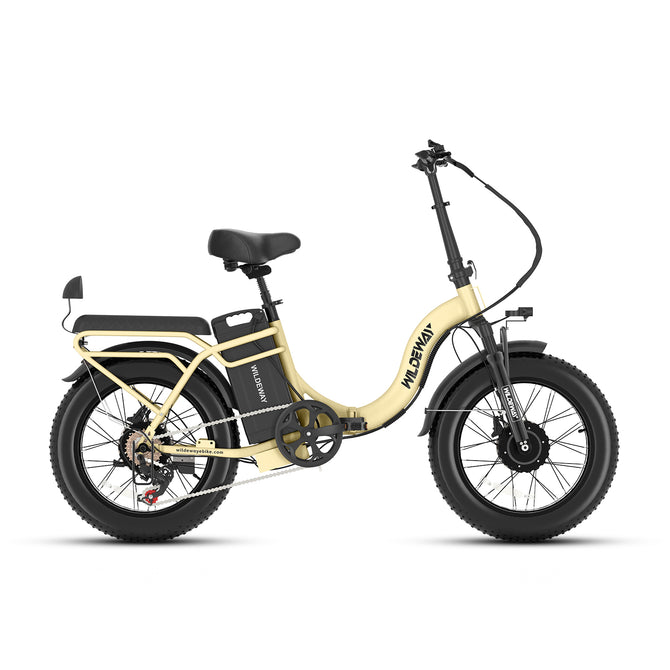
The FW11 3.0 Pro is a step-over folding model suited to riders who want a compact format for commuting, errands and transportation. It may appeal to riders who need to combine hill riding with apartment storage, vehicle transport or mixed daily use.
FW11S 3.0 Pro
The FW11S 3.0 Pro uses a step-through frame format. Riders who make frequent stops, carry daily items or prioritize easier mounting and dismounting may find this design worth considering for urban or suburban hills.
SummitX
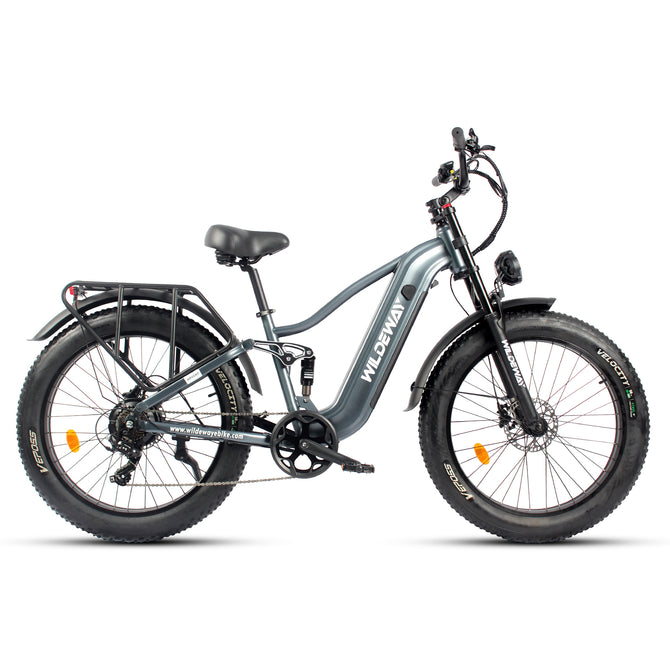
The SummitX is positioned for riders considering more performance-oriented and outdoor-focused use. Before selecting it for a specific trail or grade, verify the current product-page specifications, local trail rules and the rider’s experience level.
Wander Ultra
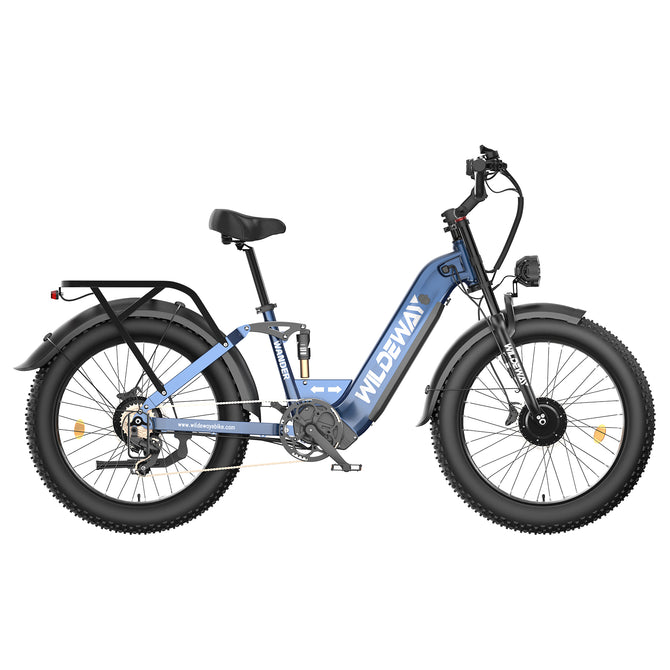
The Wander Ultra may suit riders looking for a practical platform for longer neighborhood rides, recreation and mixed-surface travel. Confirm current dimensions, equipment and intended-use information before buying.
KRAKEN
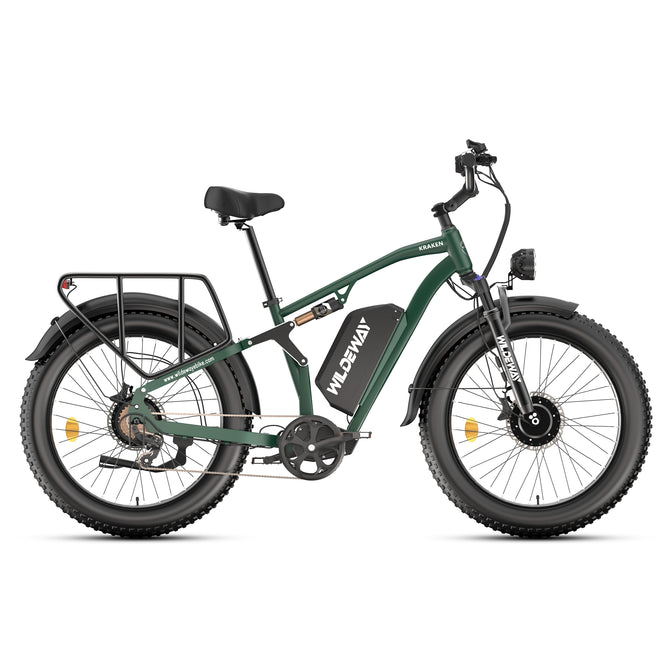
The KRAKEN is intended for riders evaluating a more aggressive all-terrain style. Hilly off-road riding adds additional demands from loose surfaces, obstacles, braking and route access. Confirm current product specifications and local trail permissions before use.
This article intentionally does not assign unverified maximum grades, torque figures or range claims to these models.
Hill-Riding Comparison Checklist
| Question | Why it matters |
|---|---|
| Can I start safely on the incline? | Uphill starts require predictable assistance and balance |
| Can I shift early enough? | Correct gearing reduces rider strain |
| Can I stop before an intersection? | Braking must match the route |
| Can I descend with control? | Downhill stability is as important as climbing |
| Can I carry my normal cargo? | Weight changes both climbing and braking |
| Can I use the route in wet weather? | Surface grip and stopping distance may change |
| Can I store and transport the bike? | Practical ownership includes non-riding moments |
| Do local rules allow this route? | Trails, roads and e-bike classes vary by location |
10. Practice on Moderate Hills First
Do not begin with the steepest hill in your neighborhood.
Start with:
- A quiet road
- A clear sightline
- Dry conditions
- Low traffic
- A safe run-off area
- A route you can turn around on
Practice starting, shifting, braking and stopping at low speed. Learn how the assistance controls respond before carrying cargo or riding near traffic.
Keep both hands on the handlebars, remain focused and slow down before curves, crossings and uncertain surfaces. CPSC advises riders to keep both hands on the handlebars and slow down when approaching bumps. U.S. Consumer Product Safety Commission
11. Know When a Hill Is Beyond the Setup
A hill may be too demanding for the rider, bicycle, weather or route.
Stop and reassess if:
- The motor response becomes unpredictable
- The bike cannot maintain controlled steering
- The brakes feel weak or inconsistent
- The tires lose traction repeatedly
- The rider cannot comfortably control breathing or effort
- Cargo shifts
- The route becomes too narrow or exposed
- The battery reserve is no longer adequate
- You would need to ride against local rules
Walking the bike or choosing a different route is a valid safety decision.
Frequently Asked Questions
What is the best e-bike for hills?
The best e-bike for hills is one with predictable assistance, useful low gearing, effective brakes, suitable tires and a stable riding position. The correct choice depends on rider weight, cargo, route length, surface and local conditions.
Is motor wattage the most important hill-climbing factor?
No. Motor output is only one part of the system. Gearing, rider weight, tires, battery condition, assistance control, temperature and braking all affect the real experience.
Are fat tires better for steep hills?
Not automatically. Fat tires can offer comfort and stability on some surfaces, but tread, pressure, weight and terrain all matter. Choose tires for the route rather than assuming a wider tire is always better.
Should I use maximum assist on every hill?
Not necessarily. A lower or moderate setting may provide more controlled acceleration and conserve battery. Use the setting that matches the hill, surface, traffic and your experience.
Is a step-through e-bike better for hills?
A step-through frame can make mounting and dismounting easier for some riders, especially on stop-and-go routes. Hill performance still depends on the complete bicycle system and correct setup.
Does cargo make hills harder?
Yes. Cargo adds weight and can change balance, braking and battery use. Keep it low, centered and secured, then test the loaded bike before entering traffic.
How should I practice hill riding?
Begin on a moderate, low-traffic incline in good conditions. Practice shifting, starting, braking and turning before attempting steeper grades or carrying cargo.
Can I use an e-bike on any hill or trail?
No. Roads, bike paths, parks and trails may have different rules. Check local e-bike classifications, speed limits and access requirements before riding.
Conclusion
Choosing an e-bike for hills is not a contest to find the biggest number on a product page.
Look for a complete system: predictable assistance, useful gearing, dependable brakes, appropriate tires, a stable riding position and a route that matches your skill and equipment.
Think about the whole trip. You need to climb the hill, control the descent, stop safely, manage your battery, carry your normal equipment and store the bicycle when you get home.
For mixed urban and suburban riding, the FW11 3.0 Pro and FW11S 3.0 Pro offer two different folding-frame formats to consider. For more adventurous routes, riders can explore the SummitX, Wander Ultra and KRAKEN while confirming current specifications, terrain suitability and local access rules.
Explore the WILDEWAY electric bike collection and choose the model that fits your hills, your route and the way you actually ride.


