
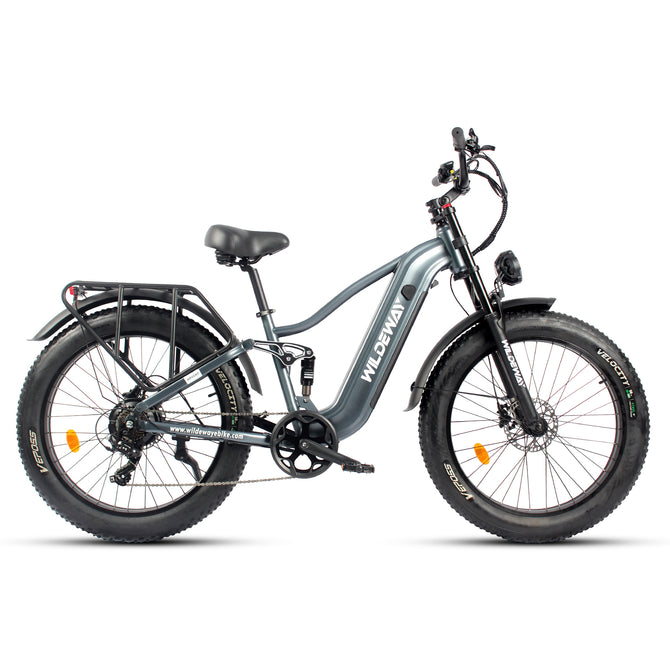
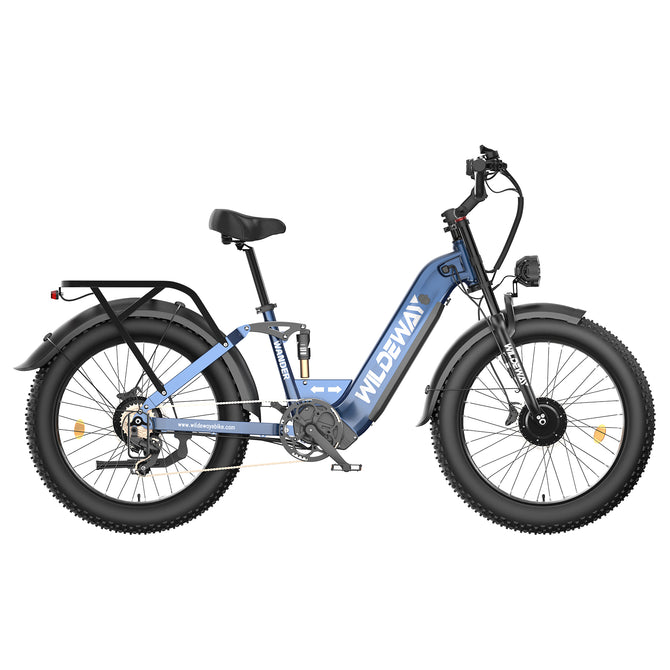
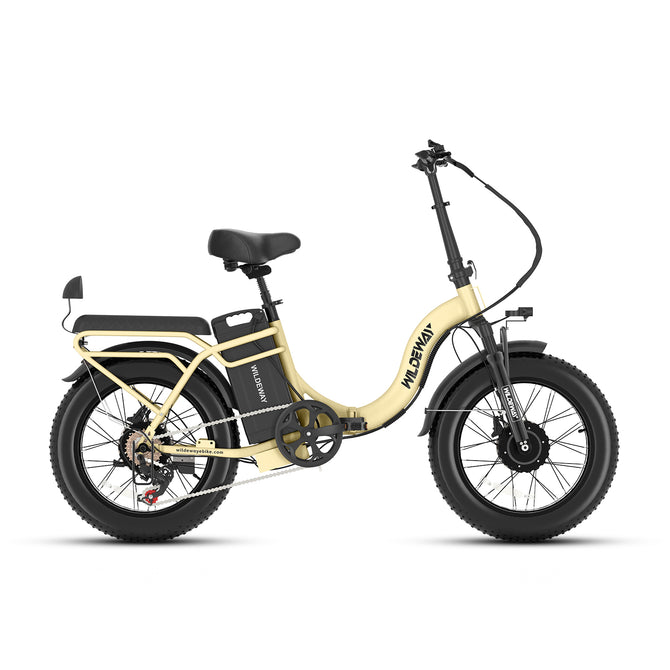
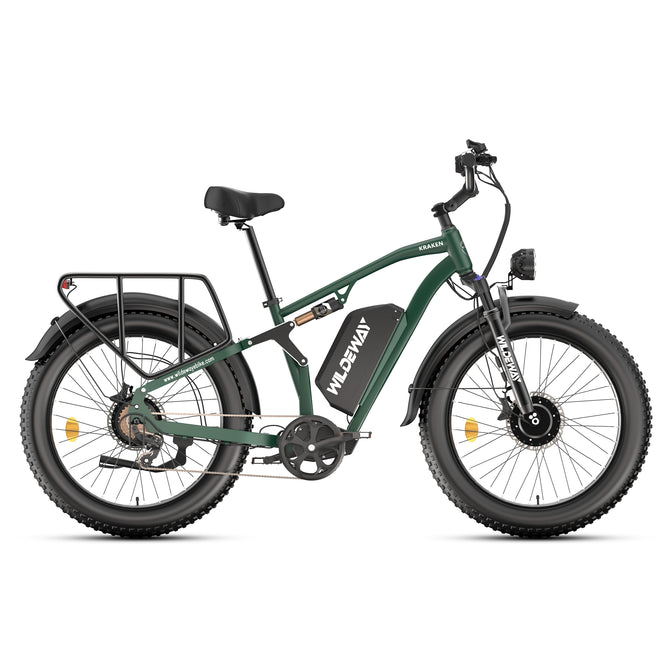

5-Minute E-Bike Pre-Ride Safety Checklist
An electric bike combines conventional bicycle components with a battery, motor, display, sensors, wiring, and electronic controls. That additional capability makes everyday transportation more convenient, but it also gives riders a few more items to inspect before leaving home.
Fortunately, a useful pre-ride inspection does not require a repair stand or a complete workshop. Once the routine becomes familiar, most riders can complete it in approximately five minutes.
The purpose is not to perform a full service before every trip. It is to identify obvious problems—such as a soft tire, loose wheel, damaged cable, weak brake, unsecured battery, or improperly closed folding hinge—before those problems become more serious on the road.
Use this checklist before commuting, carrying cargo, beginning a delivery shift, exploring a trail, or taking your e-bike on a longer recreational ride.
The Short Answer
Before riding an e-bike, check the tires, wheels, brakes, battery, controls, cables, frame, folding mechanisms, drivetrain, lights, cargo, and safety equipment.
Confirm that the battery is locked, both brakes work independently, the tires are correctly inflated, and no component is loose or damaged. Turn on the electrical system, verify the display and lights, then complete a short low-speed test ride in a traffic-free area.
If anything feels unfamiliar, unstable, damaged, or inconsistent, do not continue riding until the problem has been corrected.
The Five-Minute Checklist
| Time | Inspection |
|---|---|
| Minute 1 | Tires and wheels |
| Minute 2 | Front and rear brakes |
| Minute 3 | Battery, display, throttle and wiring |
| Minute 4 | Frame, handlebar, seat and folding mechanisms |
| Minute 5 | Chain, lights, cargo, helmet and test ride |
This order creates a repeatable routine. Begin at the ground, move through the mechanical and electrical systems, and finish with the rider and riding environment.
1. Check the Tires
Inspect both tires for:
-
Correct inflation
-
Cuts or exposed casing
-
Embedded glass, metal or thorns
-
Sidewall cracking
-
Bulges or unusual deformation
-
Excessively worn tread
-
An improperly seated tire bead
Use an accurate pressure gauge rather than relying only on how the tire feels when squeezed. Follow the tire sidewall, owner’s manual, and manufacturer’s stated pressure limits.
The correct setting is not necessarily the maximum pressure printed on the tire. Rider weight, cargo, tire width, road surface, temperature, and whether the tire uses an inner tube can all affect the appropriate operating pressure.
Never exceed the limits specified for the tire and rim. If you are uncertain which pressure applies to your bicycle, contact the manufacturer or a qualified bicycle technician instead of guessing.
A tire that repeatedly loses pressure may have a puncture, valve problem, damaged tube, poor tire seating, or another condition that requires repair.
2. Confirm That Both Wheels Are Secure
Lift each end of the bicycle slightly and rotate the wheel.
The wheel should turn normally without severe side-to-side movement, contact with the frame, or continuous brake rubbing. Look for loose or broken spokes and check that the tire remains evenly seated around the rim.
Confirm that the front and rear axles, axle nuts, through-axles, or quick-release mechanisms are correctly secured for your model.
Do not tighten unfamiliar hardware by feel if the bicycle specifies a torque value. Overtightening can damage threads or components, while insufficient tightening may allow movement.
If a wheel appears loose, significantly out of alignment, or incorrectly installed, do not ride the bicycle.
3. Test the Front and Rear Brakes Separately
Stand beside the bike and apply one brake at a time while gently pushing the bicycle forward.
Each brake should stop its corresponding wheel. The lever should feel controlled and should not pull completely against the handlebar.
Check for:
-
A lever that feels unusually soft or loose
-
A damaged or frayed brake cable
-
Fluid near a hydraulic lever, hose or caliper
-
Severely worn brake pads
-
A bent or contaminated rotor
-
Continuous heavy rubbing
-
Loose brake hardware
-
A delayed or inconsistent braking response
A light intermittent rotor sound can have several causes, but weak, unpredictable, or significantly changed braking performance requires attention before riding.
Keep chain lubricant, polish, grease, and cleaning chemicals away from disc rotors and brake pads.
E-bikes may be heavier and may travel faster than conventional bicycles, particularly when carrying groceries, work equipment, or camping gear. Reliable braking should never be treated as optional maintenance.
4. Inspect the Battery
Before switching on the bike, confirm that the battery is:
-
Fully inserted into its mount
-
Locked according to the manufacturer’s instructions
-
Free from cracks, dents, swelling or leakage
-
Dry around its case, terminals and charging port
-
At an appropriate charge level for the planned route
-
Disconnected from the charger
Gently check the installed battery for unexpected movement. Do not ride if it is loose or if its locking mechanism does not engage correctly.
Never use a battery that appears swollen, crushed, punctured, burned, unusually hot, modified, or internally contaminated by water. Do not attempt to open or repair a lithium-ion battery yourself.
Use only the battery and charger approved for the specific e-bike system.
5. Power On the Electrical System
Turn on the bike and examine the display.
Confirm that:
-
The battery level appears reasonable
-
No unfamiliar error code is shown
-
The selected assist level is appropriate
-
The speed display returns to zero while stationary
-
Control buttons respond normally
-
The headlight and rear light operate
-
Brake lights or turn signals work when equipped
-
The motor does not activate unexpectedly
Begin with a low pedal-assist setting. Starting in a high-power mode can make the bike accelerate more quickly than expected, especially in a garage, driveway, parking lot, or crowded trail entrance.
If the e-bike has a throttle, confirm that it returns freely to its neutral position. Keep your hands, clothing, cargo straps, and nearby objects away from anything that could activate it accidentally.
6. Inspect Cables and Connectors
Follow the visible wiring from the handlebar toward the frame, battery, controller, and motor.
Look for:
-
Cuts or exposed conductors
-
Crushed sections
-
Loose connectors
-
Abrasion against the tire or brake rotor
-
Cables stretched tightly when turning
-
Damaged protective covers
-
Unapproved modifications
-
Moisture inside an open connector
Turn the handlebar slowly from side to side. The cables should move naturally without becoming trapped, pulled tight, or wrapped around another component.
Do not continue riding if steering changes the electrical behavior of the bike or if a cable can contact a moving wheel.
7. Check the Frame and Folding Mechanisms
Inspect the main frame, fork, handlebar stem, seat post, rear rack, and visible welds for cracks, unusual movement, deformation, or impact damage.
For folding e-bikes such as the WILDEWAY FW11 3.0 Pro and FW11S 3.0 Pro, carefully check:
-
Main frame hinge
-
Folding latch
-
Safety lock or secondary retention mechanism
-
Folding handlebar stem
-
Adjustable stem hardware
-
Folding pedals
-
Cable position around the hinge
Every latch must be fully closed in the correct riding position. A hinge that appears closed but has not fully engaged can create a serious risk.
Do not ride if a folding joint has unusual play, cannot be secured, or looks bent, cracked, or damaged. Contact WILDEWAY support or a qualified technician for model-specific guidance.
8. Check the Handlebar, Saddle and Pedals
Stand in front of the bike with the front wheel held between your legs. Apply gentle pressure to the handlebar to confirm that it does not rotate independently of the wheel.
Check that:
-
The handlebar and stem are aligned
-
Grips cannot rotate unexpectedly
-
Brake levers and controls are secure
-
The saddle does not twist
-
The seat post remains below its minimum-insertion limit
-
Both pedals are correctly installed
-
Folding pedals are fully opened and locked
-
The kickstand retracts and remains clear of moving parts
A saddle or handlebar that moves during a ride can immediately affect balance and control.
Never extend a seat post or adjustable stem beyond its marked safety limit.
9. Inspect the Chain and Drivetrain
Look at the chain, chainring, freewheel or cassette, crank arms, pedals, and derailleur.
The chain should be:
-
Properly positioned
-
Reasonably clean
-
Correctly lubricated
-
Free from severe rust
-
Without visibly damaged or stiff links
Rotate the pedals carefully or complete a slow test ride while shifting through several gears. Shifting should be predictable, and the chain should not repeatedly jump, grind, or fall from the gears.
Do not reach toward the chain, gears, or wheels while the electrical system is capable of activating the motor.
If the bike has been transported, folded, dropped, or stored against other equipment, inspect the derailleur more closely. Even a small impact can affect shifting alignment.
10. Secure Cargo and Accessories
A loose bag or strap can enter the wheel, chain, or brake rotor.
Before riding, confirm that:
-
Baskets and cargo boxes are correctly mounted
-
Panniers are attached on both their upper and lower mounts
-
No strap hangs near a wheel
-
Cargo does not interfere with steering
-
Weight is distributed as evenly as possible
-
Nothing blocks the lights or reflectors
-
Cargo remains within the bicycle and rack limits
-
The battery and charger are not loose in a basket
-
Keys and tools cannot fall into moving components
Recheck handling whenever you add groceries, camping equipment, delivery bags, or other substantial cargo. Additional weight can change acceleration, cornering, braking distance, and balance.
A rear rack’s capacity is separate from the bicycle’s total payload rating. Both limits must be respected.
11. Check Your Helmet and Visibility
Wear a properly fitted bicycle helmet appropriate for your riding conditions and local requirements.
Before leaving, confirm that:
-
The helmet is correctly positioned
-
The retention system is secure
-
The shell and straps are not damaged
-
The front and rear lights work
-
Clothing or luggage does not hide reflectors
-
You can be seen from the front, side and rear
-
Your phone and navigation are set before moving
-
Weather and visibility match your experience and equipment
Check local laws for helmet use, e-bike classes, speed limits, passenger rules, and permitted riding locations. These requirements vary among U.S. states, Canadian provinces, cities, parks, and trail systems.
12. Complete a Low-Speed Test Ride
Perform the first test in a clear area away from traffic, pedestrians, steep slopes, and obstacles.
At low speed:
-
Test both brakes.
-
Confirm normal steering.
-
Listen for new rattles or grinding.
-
Check that pedal assist engages predictably.
-
Confirm that the motor stops when expected.
-
Shift through several gears.
-
Check the display for warnings.
-
Verify that the bike tracks straight.
Stop immediately if the bike pulls unexpectedly, a wheel feels loose, the brakes are weak, the motor behaves unpredictably, or a folding mechanism begins moving.
When Should You Skip the Ride?
Do not ride the e-bike if you find:
-
A cracked, swollen or unusually hot battery
-
A loose wheel or axle
-
A tire bulge or exposed casing
-
A frame or fork crack
-
A folding latch that cannot lock
-
Weak or inconsistent braking
-
A leaking hydraulic-brake component
-
A throttle that does not return
-
Damaged electrical wiring
-
A serious steering problem
-
Loose handlebars, saddle or pedals
-
An unexplained electrical error
-
A total load exceeding the bike’s limit
A cancelled ride is inconvenient. A preventable component failure during the ride can be far more serious.
Printable Pre-Ride Checklist
| Component | Confirm |
|---|---|
| Tires | Inflated, seated and free from major damage |
| Wheels | Secure, straight and rotating normally |
| Brakes | Front and rear brakes work independently |
| Battery | Undamaged, charged, inserted and locked |
| Controls | Display, assist controls and throttle behave normally |
| Wiring | No cuts, loose connectors or cable interference |
| Frame | No cracks, bends or unusual movement |
| Folding parts | Hinges, stem and pedals fully secured |
| Drivetrain | Chain and gears operate smoothly |
| Lights | Headlight, rear light and signals work |
| Cargo | Balanced, secured and within load limits |
| Rider | Helmet fitted and route conditions reviewed |
| Test ride | Steering, braking and motor response feel normal |
Frequently Asked Questions
Should I inspect my e-bike before every ride?
Yes. A short inspection before every ride can identify changes that occurred during storage, charging, transportation, cleaning, or the previous trip. Longer monthly and seasonal inspections are still necessary.
How long should an e-bike pre-ride inspection take?
Once the routine becomes familiar, the basic inspection can usually be completed in approximately five minutes. Take longer when carrying cargo, preparing for a long route, or returning after storage or transportation.
What is the ABC bicycle safety check?
The ABC check stands for Air, Brakes, and Chain. It is a useful starting point, but an e-bike inspection should also cover the battery, electrical controls, cables, lights, throttle, frame, and folding mechanisms.
Should I test an e-bike throttle before riding?
Check that the throttle is undamaged and returns correctly, but only activate it in a safe, clear area while controlling the bicycle. Make sure it does not activate unexpectedly and that motor assistance stops as designed.
What should I do if an error code appears?
Stop and consult the owner’s manual or model-specific support information. Do not repeatedly operate the bike or modify electrical connections without understanding the cause.
Do folding e-bikes require extra checks?
Yes. Inspect the main frame hinge, folding stem, pedals, latches, secondary safety locks, and cable position. Every folding component must be fully secured before riding.
When should an e-bike be inspected professionally?
Arrange professional inspection after a collision, hard impact, electrical malfunction, recurring brake problem, battery damage, structural concern, or any problem you are not qualified to diagnose.
Conclusion
A pre-ride inspection is one of the simplest habits an e-bike rider can develop.
Check the tires, wheels and brakes first. Then verify the battery, controls, cables, folding mechanisms, drivetrain, lights, cargo, and protective equipment. Finish with a low-speed test ride before joining traffic or entering a trail.
The entire routine takes only a few minutes, but it can reveal small problems before they become roadside failures or safety hazards.
Explore WILDEWAY electric bikes for folding, commuting, cargo, and all-terrain riding—and remember that every good journey begins with a bike that is ready to ride.


